
Custom Silicone Wrap-Around Jaw Implant
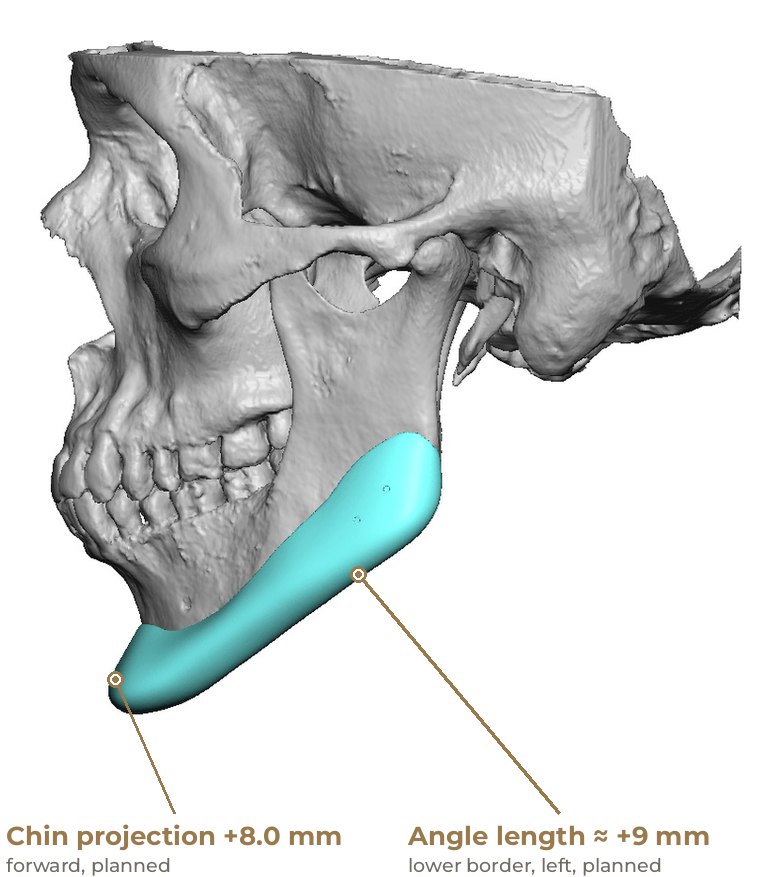
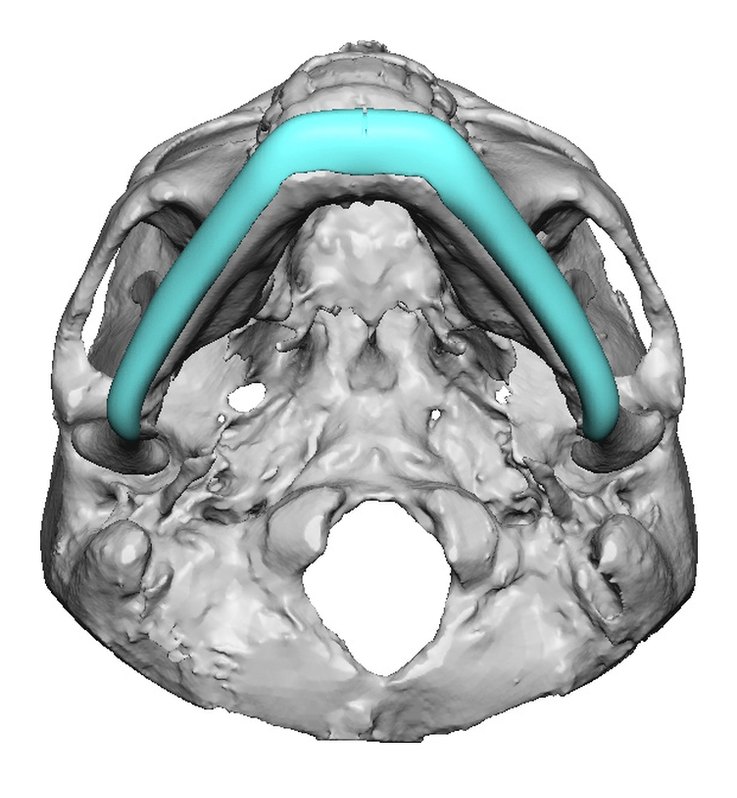
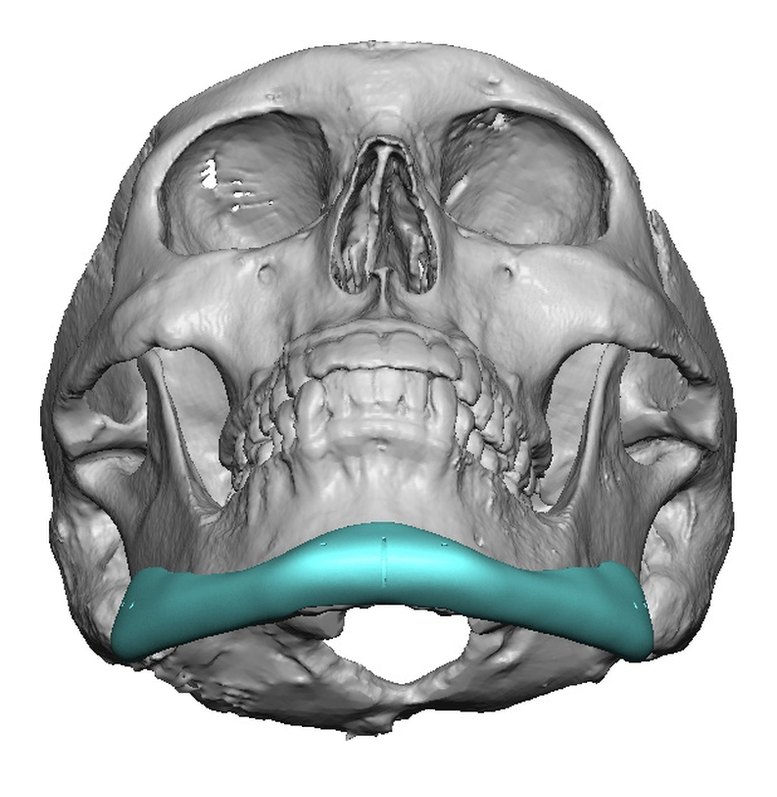
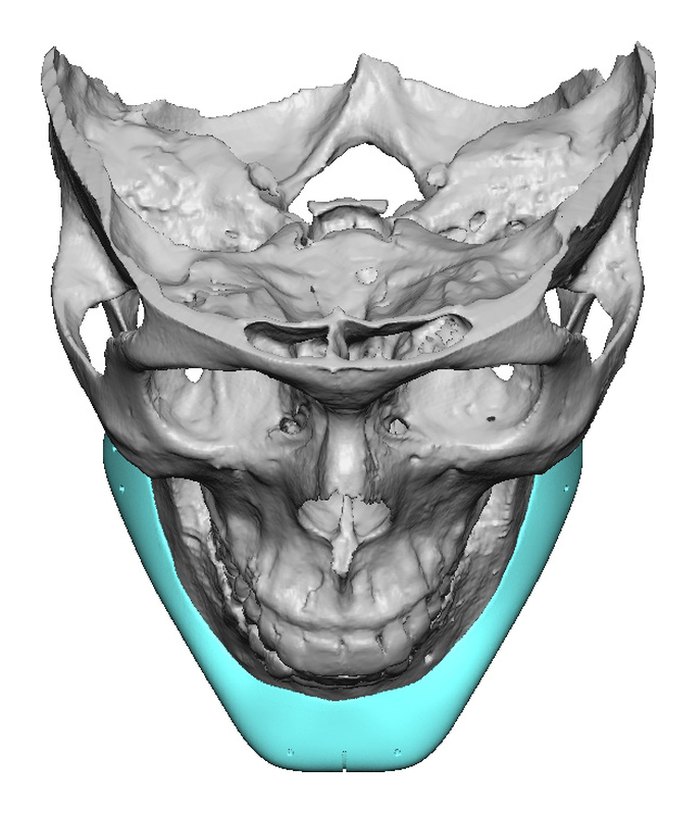
The goals were more forward chin projection and more width and length at the jaw angles. One patient-specific silicone implant was designed on a 3D model from the CT scan to wrap the lower jaw from angle to angle, and was then placed in surgery. In the plan it brings the chin forward 8 mm, widens the angles by about 7 to 8 mm and lengthens the lower border at the angles by about 5 to 9 mm. The right and left sides differ slightly by design, to balance a mild congenital asymmetry.
- Concern
- Wanted a stronger chin and wider, longer jaw angles
- Procedure
- Custom silicone wrap-around mandibular (jawline) implant
- Focus
- Chin projection, plus angle width and length
- Implant
- Custom silicone, about 20 cc
Chin forward, angles wider and longer
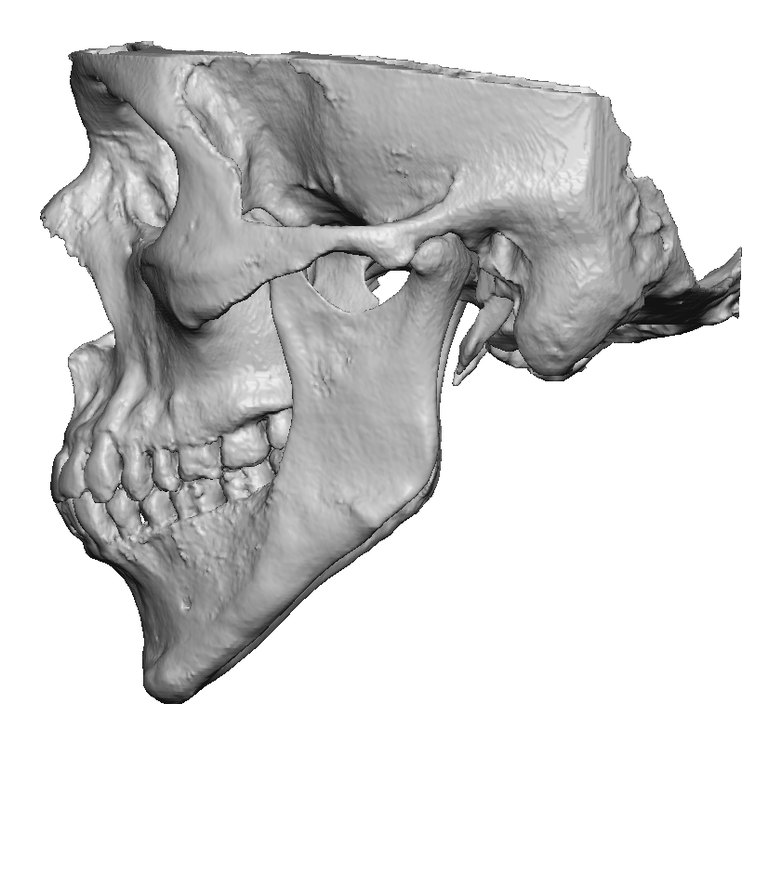
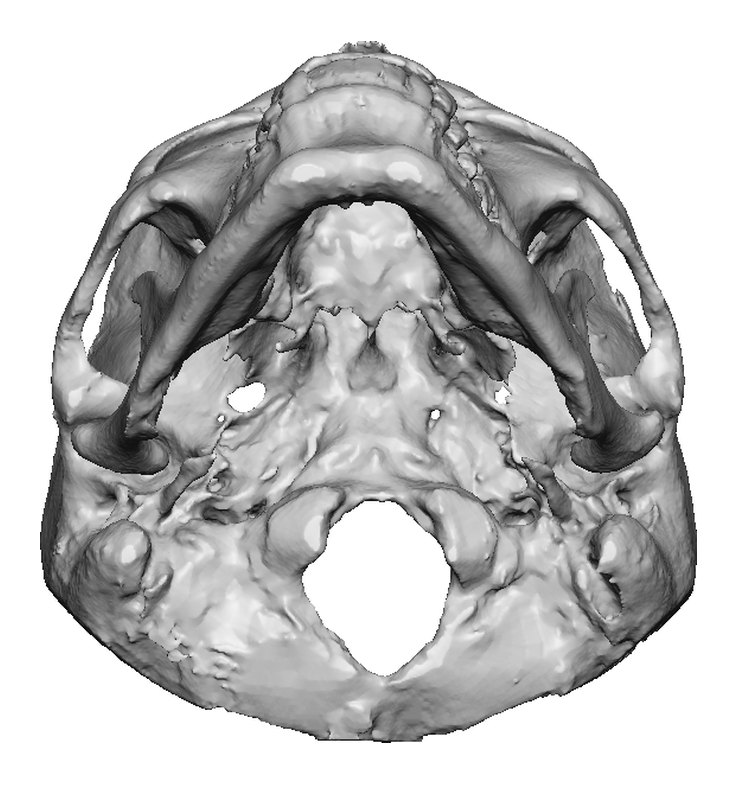
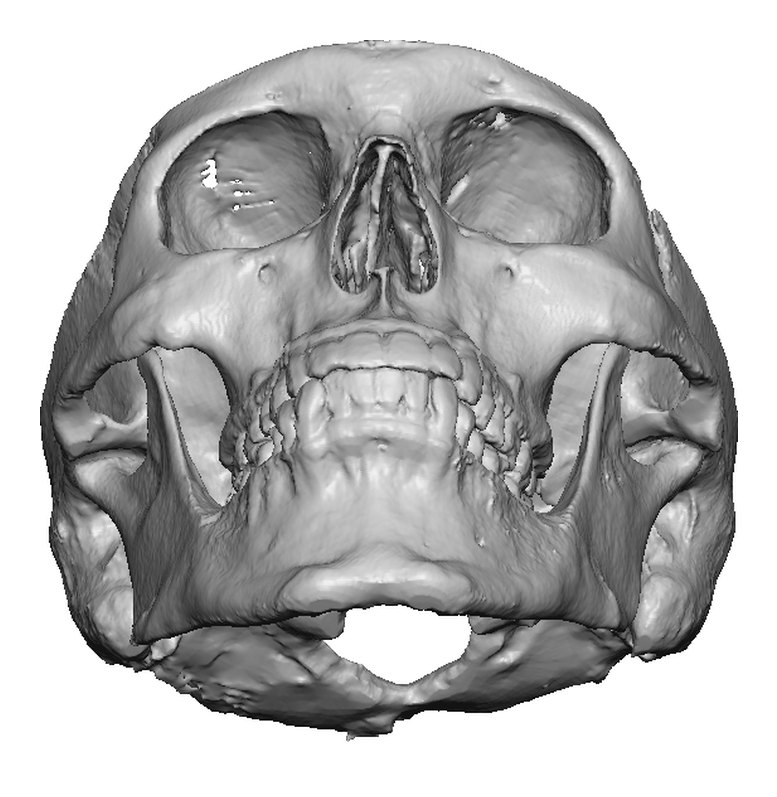
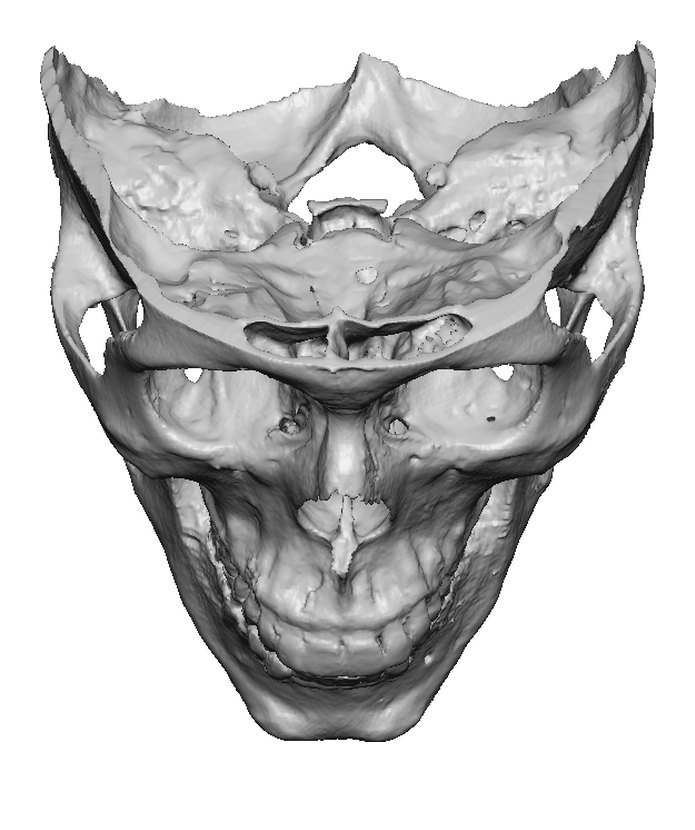
Each view below shows the 3D model before and with the planned implant, at the same angle and scale. The chin is brought forward 8 mm. The plan lists about 7 mm (right) and 8 mm (left) of added width at the jaw angles, and about 5 mm (right) and 9 mm (left) of added length at the lower border near the angles. The angle values are approximate, as listed in the plan.
* Right and left values differ by design: the implant adds slightly more on one side to balance a mild congenital asymmetry.
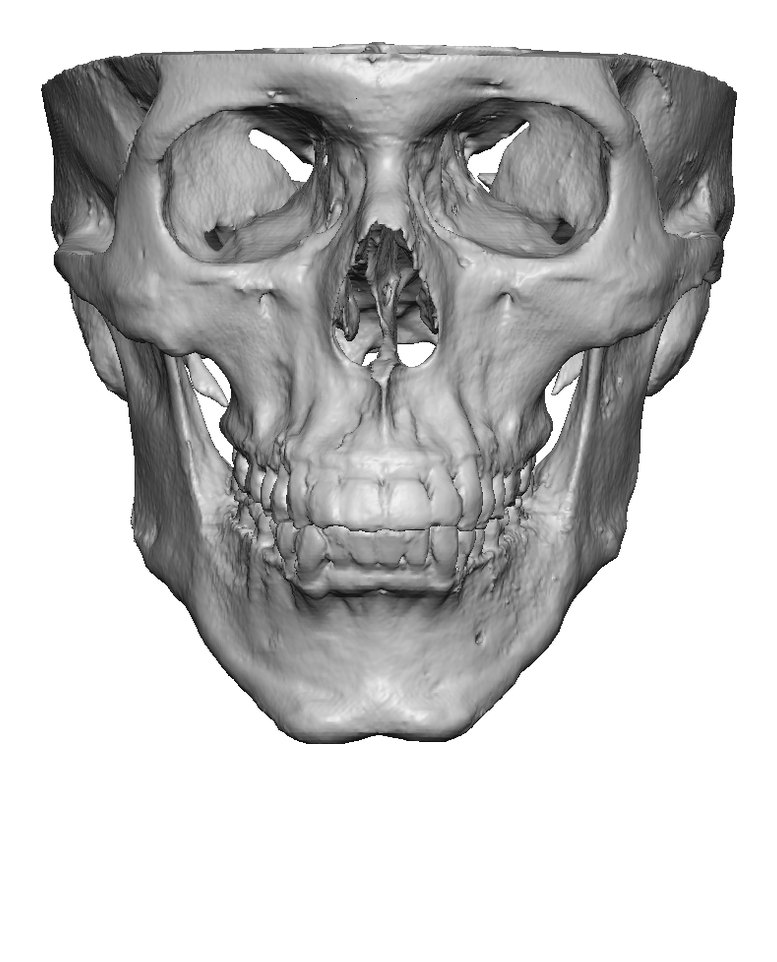
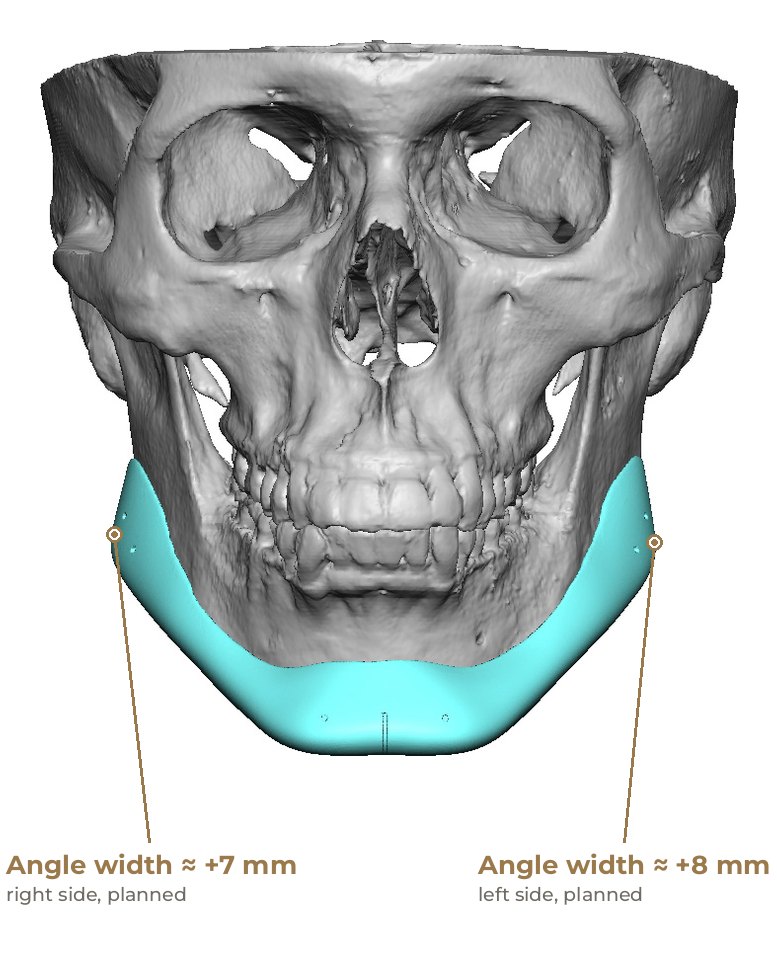
* Right about +7 mm, left about +8 mm: different by design, to balance a mild congenital asymmetry.
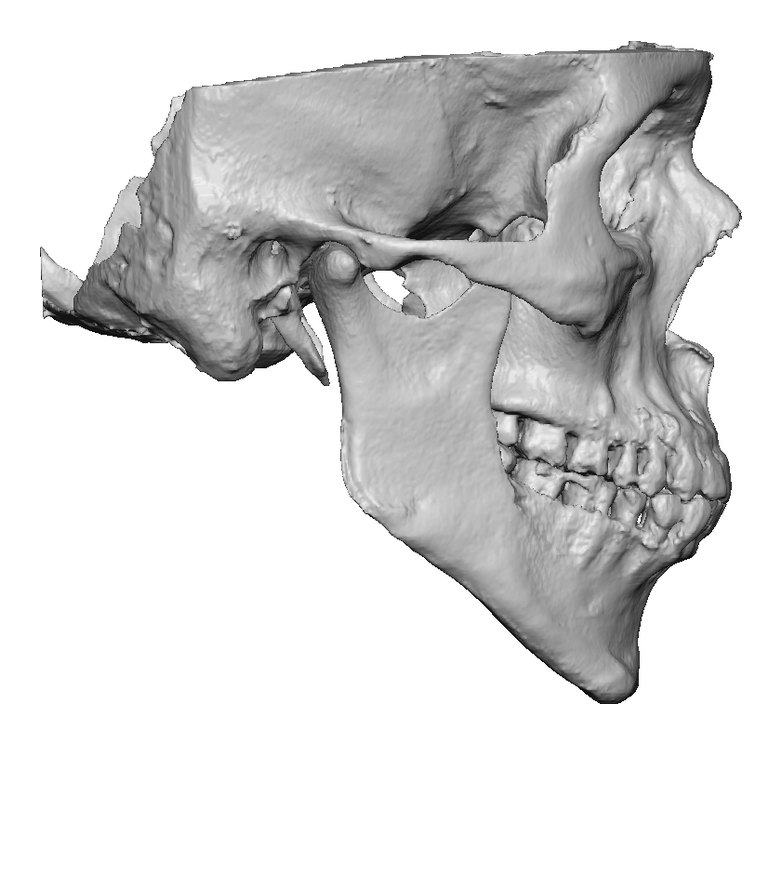
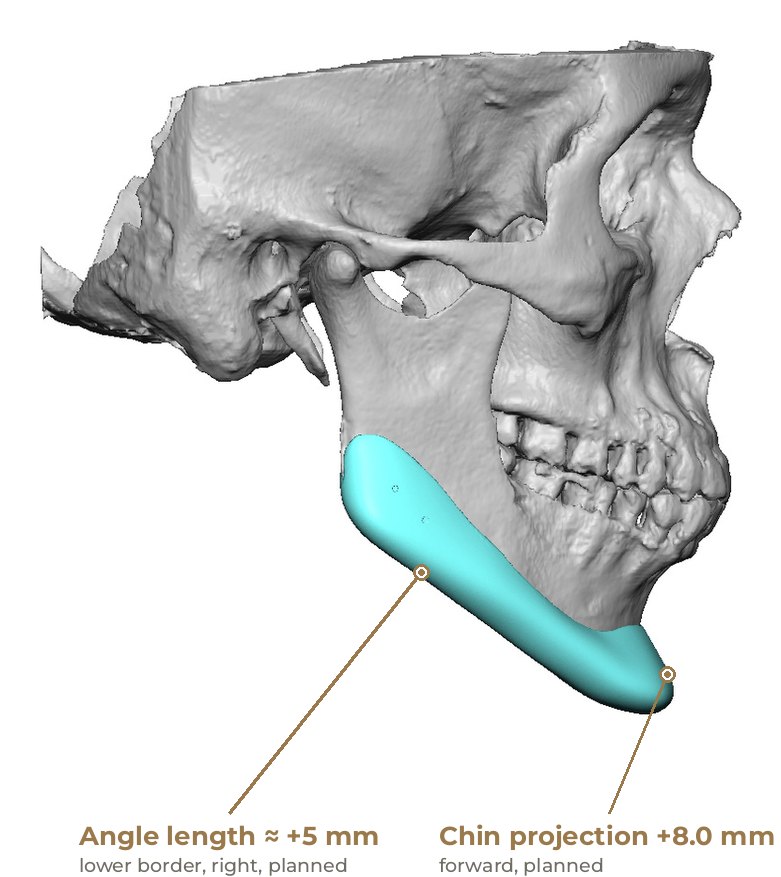
Diagnosis & concern
More forward (front-to-back) chin projection, and more width and length at the jaw angles.
Limited chin projection and jaw angle width and length, with a mild congenital asymmetry between the right and left sides. The implant was designed slightly asymmetrically to balance it.
The bite was already well aligned, and there were no functional complaints or airway concerns, so moving the jaws was not indicated. A custom silicone implant was chosen to address the chin and jaw-angle contour directly, over the existing bone.
Implant design
The CT scan was converted into a 3D model of the skull and mandible. The implant was shaped on this model to sit on the bone along the lower border, with a centre mark for alignment. Tooth roots and the nerve canal were mapped beneath the implant so that screw positions could be planned around them. More matched views:
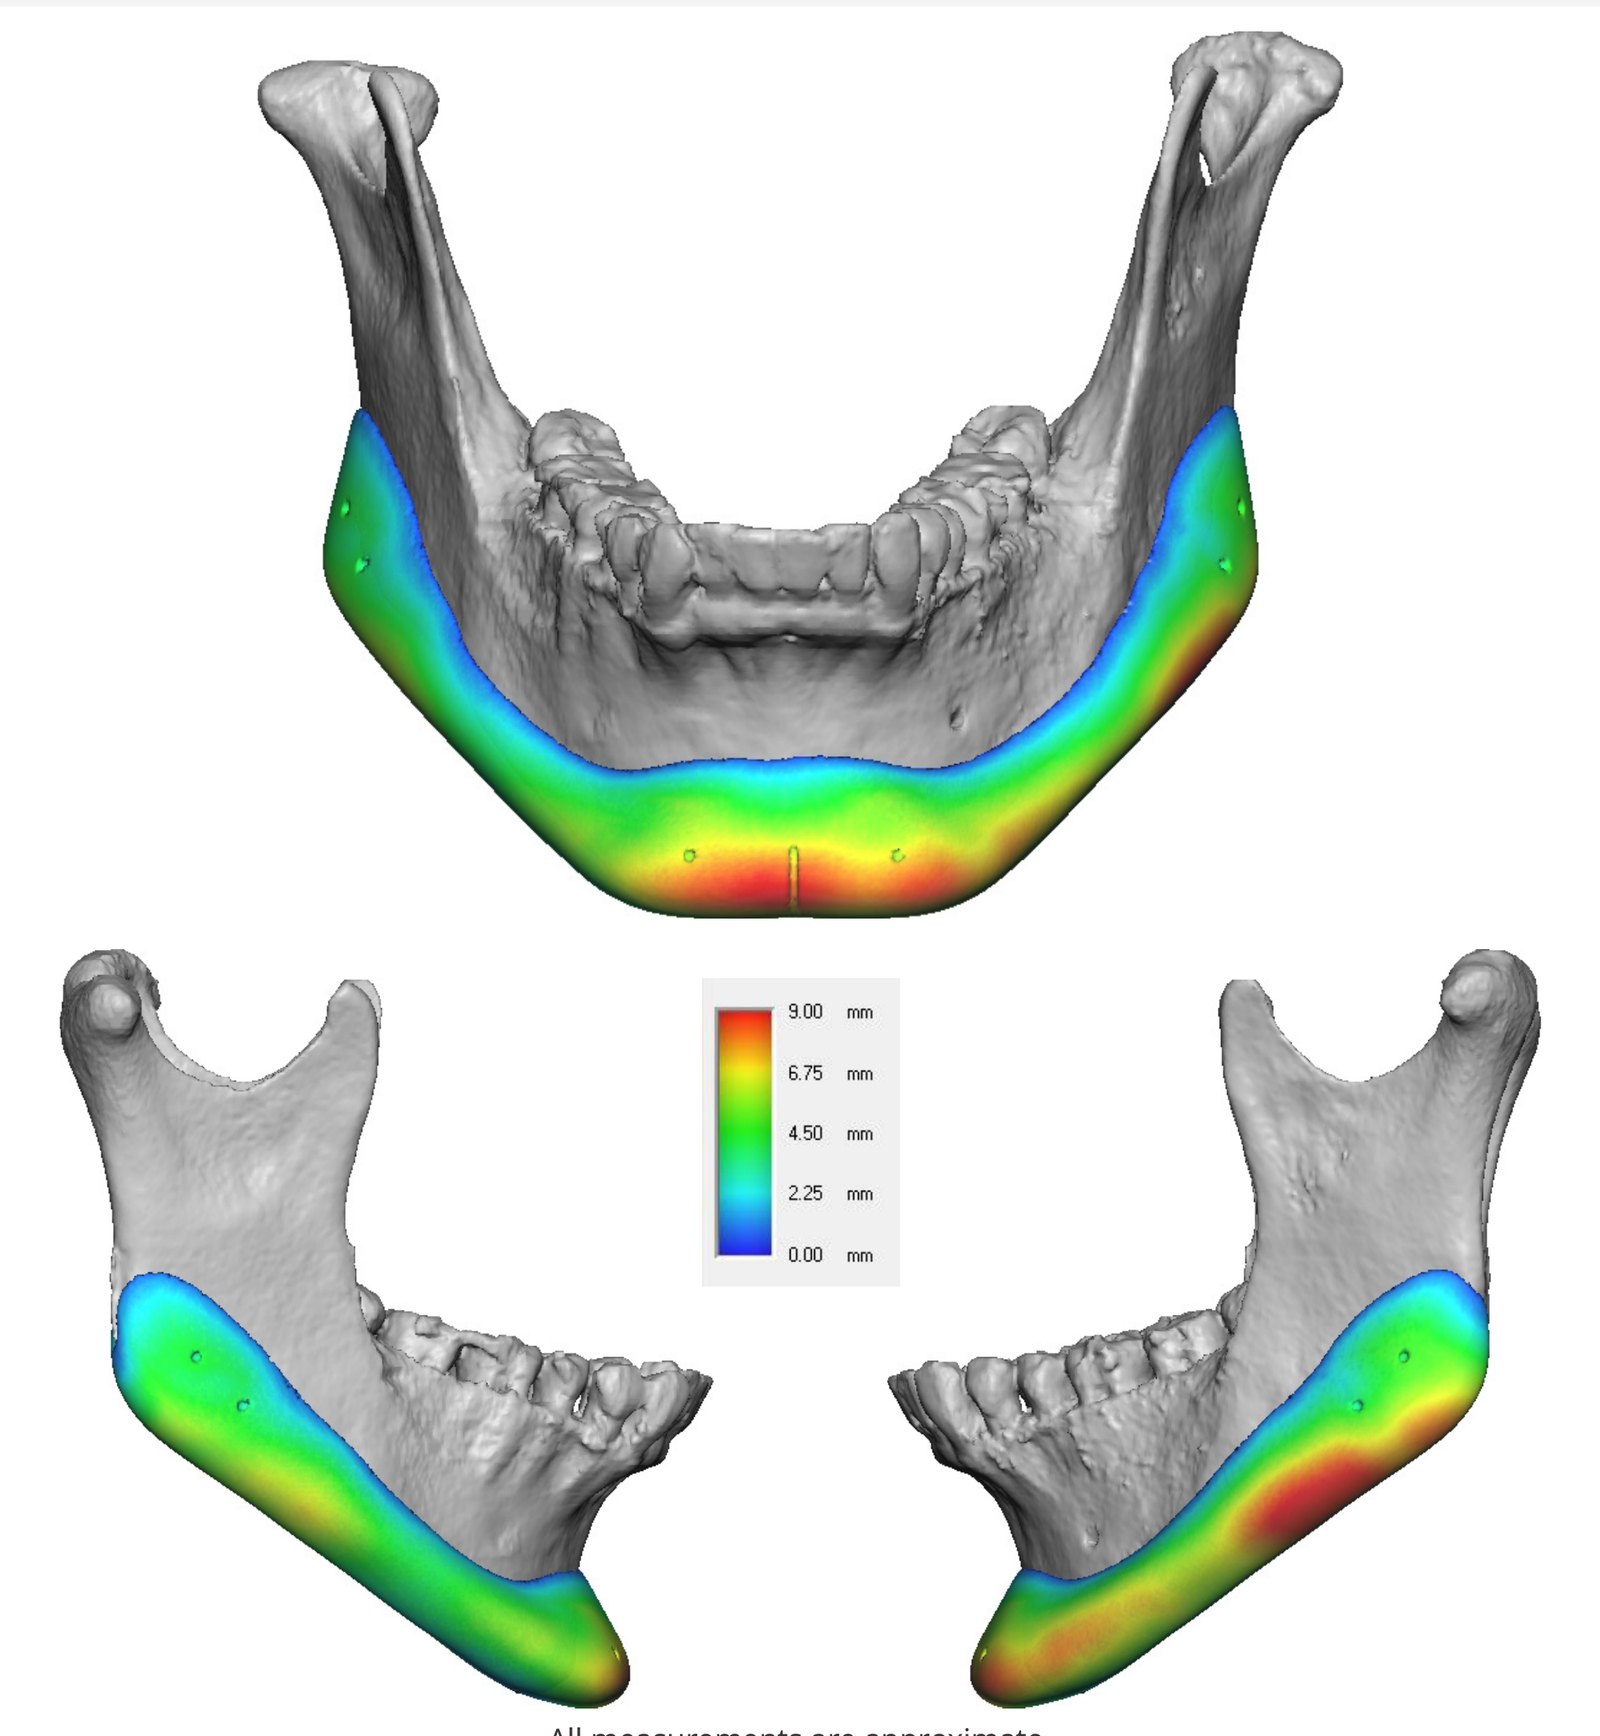
| Segment | Planned movement | Amount (from plan) |
|---|---|---|
| Chin | Forward projection | 8.0 mm |
| Jaw angle, right | Width (frontal view) | ~7 mm |
| Jaw angle, left | Width (frontal view) | ~8 mm |
| Lower border near the angle, right | Length (side view) | ~5 mm |
| Lower border near the angle, left | Length (side view) | ~9 mm |
| Implant | Volume | ~20 cc |
Procedure
- Custom silicone implant designed on the 3D model from the CT scan
- Implant placed along the lower border of the jaw
- Implant fixed to the bone with screws
Where
Treated at Maxillo-Facial Surgery Institute, Irvine. Our Surgeons